Can You Replace Windows in Winter in Ohio? What to Expect on Installation Day
A practical guide to cold-weather installation, heat loss, snow delays, sealing, preparation, and knowing when a winter project should wait
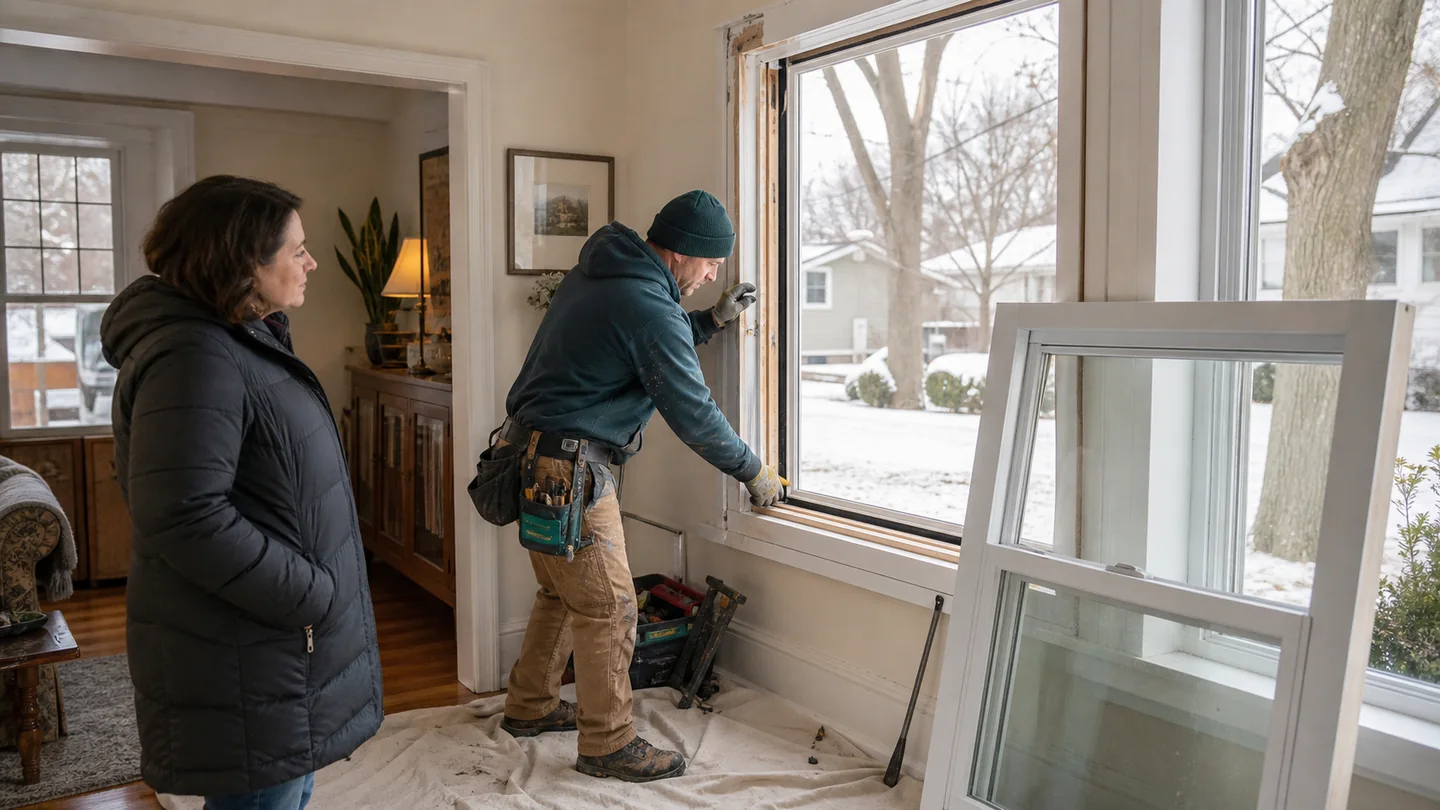
Yes, windows can often be replaced during an Ohio winter. The house doesn't have to sit open to the weather, and you don't automatically need to wait until spring. A careful crew stages the new unit first, works on one opening at a time, and limits how long each opening is exposed.
But here's the thing: “we install all winter” isn't enough information. The real questions are whether the weather is safe, whether the opening can be kept dry, and whether the sealants, flashing tapes, and insulating products are approved for the actual temperatures that day.
This guide explains what a sensible winter installation looks like in Cleveland, Akron, Canton, Youngstown, Warren, and the surrounding Northeast Ohio communities—without pretending that every cold or snowy day is a good installation day.
The short answer: winter replacement can work, but the process matters
Replacement windows are installed year-round in cold climates. Pella's current homeowner guidance says professionals generally replace one window at a time and take precautions to reduce heat loss while the opening is exposed. That is a useful baseline—not a guarantee that any contractor, product, or weather condition is acceptable.
A straightforward pocket replacement on a calm, dry 30-degree day is very different from a full-frame job during freezing rain. The first may be routine. The second may make it difficult to keep the opening dry, bond flashing correctly, finish exterior work, or keep workers safe.
| Your concern | What usually happens | What to verify |
|---|---|---|
| Will the room become freezing? | One opening is handled at a time and exposure is kept brief | Crew sequence, room isolation, and the number of openings removed at once |
| Can sealant cure in cold weather? | Some products are cold-rated; others are not | Exact product, application-temperature range, surface condition, storage, and cure instructions |
| What if it snows? | Light, controllable conditions may be manageable | No snow, frost, ice, or liquid water on bonding surfaces; clear postponement policy |
| Is winter installation rushed? | It should follow the same alignment, flashing, insulation, and testing steps | Written scope and manufacturer instructions—not just speed |
| Will the project take one day? | Pocket work is often faster than full-frame work | Opening count, access, trim, repairs, and weather contingency |
What actually happens on installation day
A good winter installation should feel planned, not improvised. Before removing anything, the crew should confirm the weather, inspect the delivered windows, and make sure the products needed for sealing and flashing are suitable for the day's conditions.
1. The crew checks conditions before opening the wall
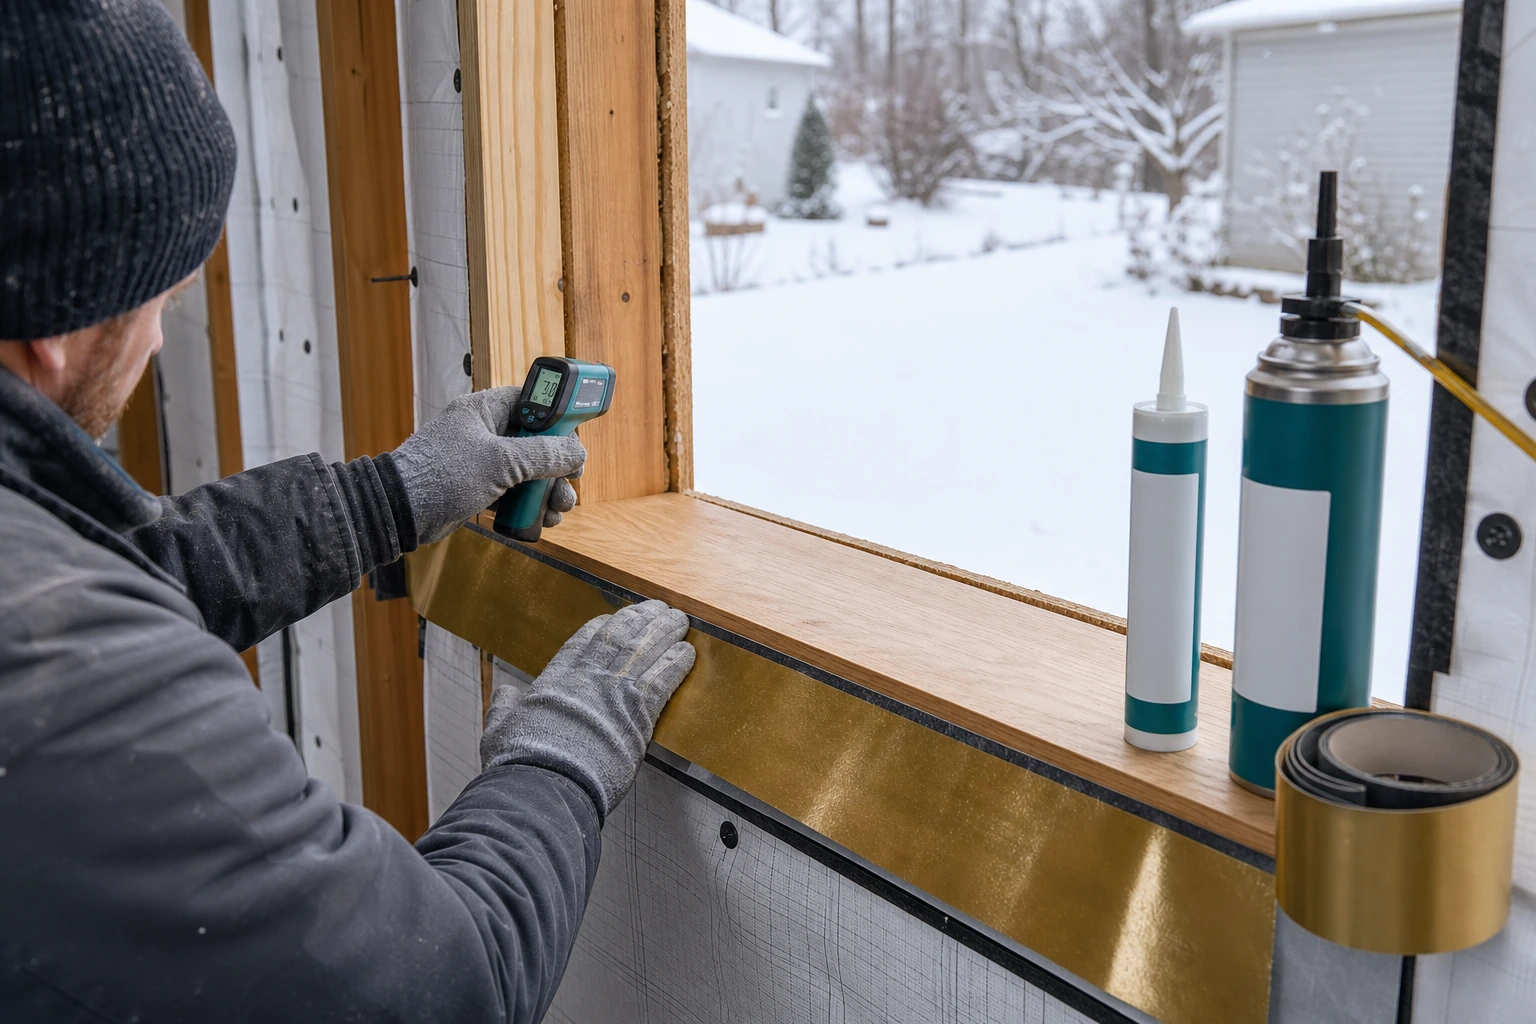
Wind, precipitation, ice, exterior access, and surface temperature all matter. Air temperature alone doesn't tell the whole story: a shaded sill or masonry surface may be colder, wet, or frosted even when the weather app looks acceptable.
Ask who makes the go-or-postpone decision and when you'll be notified. A contractor willing to delay unsafe or technically questionable work is protecting your installation, not wasting your time.
2. Floors, furniture, and the work zone are protected
Installers typically lay floor protection, create a clear path, and control dust around the opening. Interior doors can help isolate the work room. Pets and children should stay in a separate secured area because exterior doors may be used frequently and tools, glass, fasteners, and debris will be moving through the house.
3. The new window is staged before the old one comes out
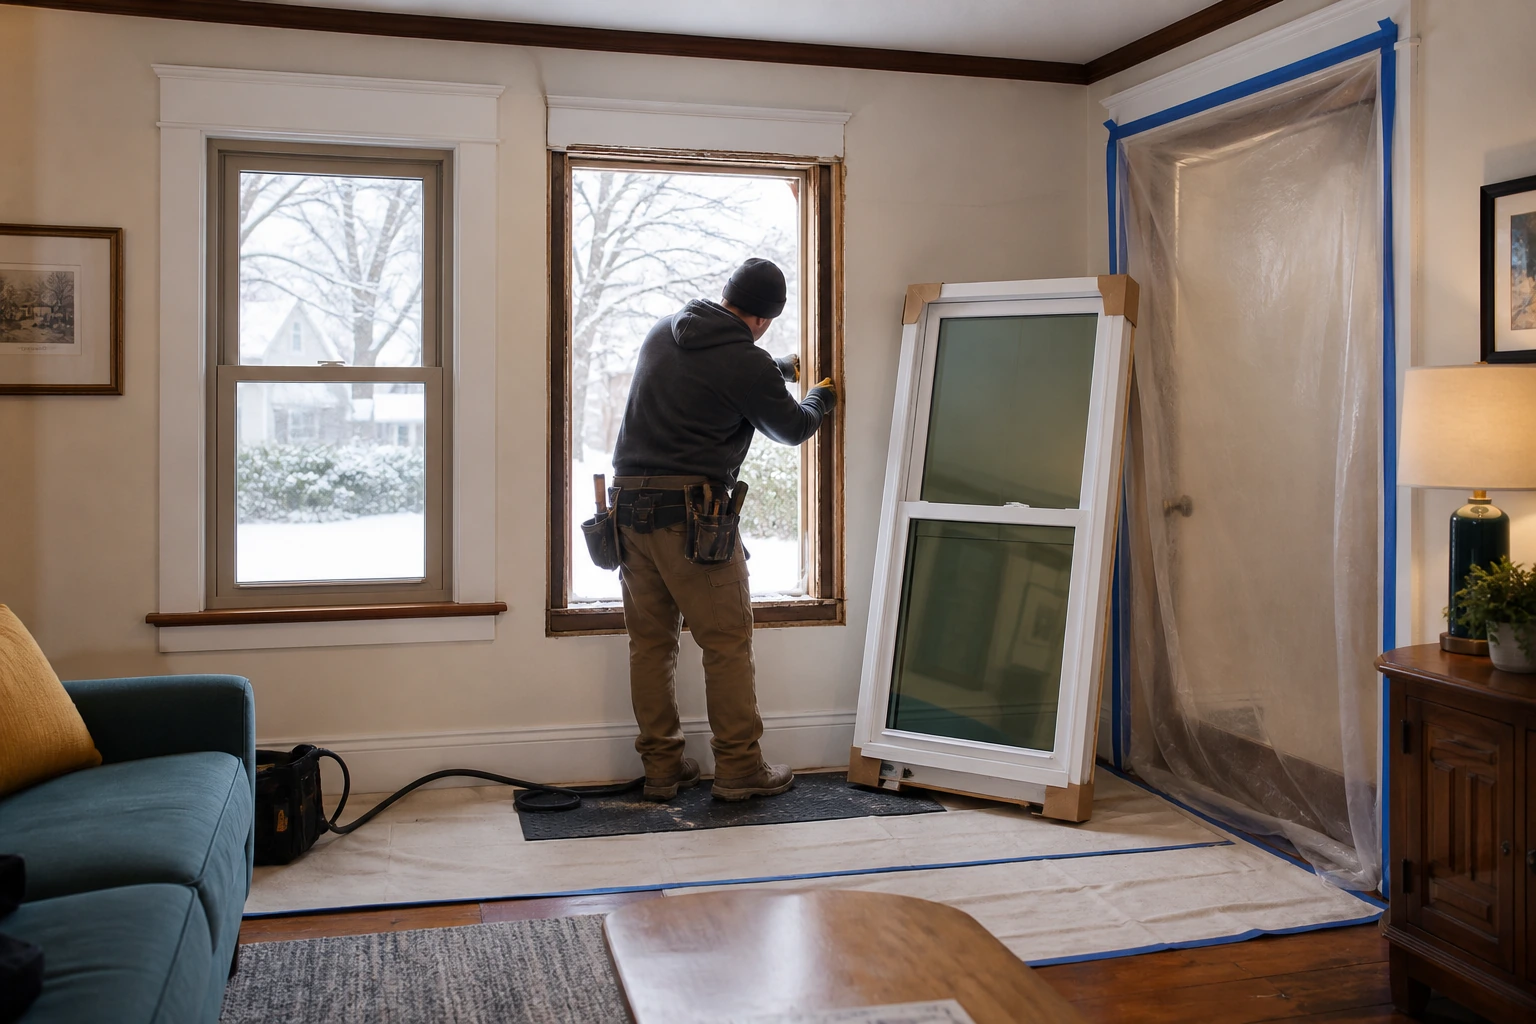
The replacement unit should be checked for size, damage, handing, hardware, and glass before the crew creates an opening. This simple step matters more in winter. Discovering the wrong window after the old one is removed can turn a controlled installation into an emergency closure.
4. One opening is removed and inspected
The installer removes the old sash or complete frame, depending on the agreed method. Then the opening is checked for rot, wet materials, out-of-square framing, damaged sheathing, failed flashing, and other conditions that could change the plan.
Hidden damage doesn't disappear because it's cold. The proposal should explain how the crew will temporarily protect the opening, document the problem, price repairs, and obtain your approval before expanding the work.
5. The new unit is set, secured, flashed, insulated, and air-sealed
The window is leveled, made square and plumb, shimmed, fastened, and tested for smooth operation. Water-control details at the sill, jambs, and head must connect appropriately to the wall. Insulation fills the perimeter gap, while an interior air seal limits drafts and moisture carried by leaking indoor air.
ENERGY STAR advises insulating the space between the window frame and rough opening. FGIA guidance also emphasizes a continuous air barrier around all four sides. Foam alone should not be described as the entire exterior water-management plan.
6. Trim is finished and the window is tested
The crew reinstalls or replaces trim, completes approved sealant joints, checks locks and operation, cleans the glass, and removes debris. Exterior coatings or touch-up work may need a later visit if their product instructions don't allow application in the current conditions.
How long will the opening be exposed?
There isn't one honest number for every window. A simple insert can move quickly. A full-frame opening with damaged wood, difficult exterior cladding, or custom trim takes longer. Manufacturer articles may give broad production estimates, but those averages aren't promises for your house.
What matters is the sequence. The replacement should be ready, tools and protection should be staged, and the crew should avoid removing several windows at once just to create a faster-looking demolition phase. Ask the estimator how the team closes an opening if hidden damage or weather interrupts the work.
Pocket replacement is usually easier in winter than full-frame work
A pocket or insert replacement fits a new unit inside the existing perimeter frame. Because less material is removed, the opening is usually exposed for less time and interior and exterior trim may stay largely intact.
Full-frame replacement removes the old window down to the rough opening. It gives the installer better access to inspect framing, correct water-management details, and seal the wall connection, but it can involve more demolition, flashing, trim, and repair work.
Does that mean you should choose pocket installation just because it is January? Not necessarily. If the old frame is rotten, chronically wet, badly distorted, or poorly flashed, keeping it can preserve the problem. Installation method should follow the condition of the opening—not the calendar.
| Winter factor | Pocket / insert | Full-frame |
|---|---|---|
| Exposure | Usually shorter and more contained | Usually longer because the rough opening is exposed |
| Hidden-condition access | Limited | Much better access to framing, sill, and wall connection |
| Exterior work | Often less disruptive | May involve siding, masonry, cladding, or new trim |
| Best winter candidate | Dry, sound, square existing frame | Planned scope with suitable weather and repair contingencies |
Cold-weather sealants and flashing: the label matters
Some window-installation sealants are designed for very low application temperatures. Other caulks, foams, adhesives, flashing tapes, primers, paints, and coatings have narrower limits. The existence of one cold-rated product does not mean every material in the assembly is winter-ready.
Ask for the manufacturer and product name, then check the technical data sheet for application temperature, substrate requirements, storage or conditioning instructions, cure behavior, and compatibility with the window and wall materials. Surfaces generally need to meet the product's requirements; ice, frost, snow, and liquid water can prevent a reliable bond even when the air temperature is within range.
That matters because the seal is supposed to last through years of expansion, contraction, wind, and water—not simply look finished when the crew leaves.
When should a winter installation be postponed?
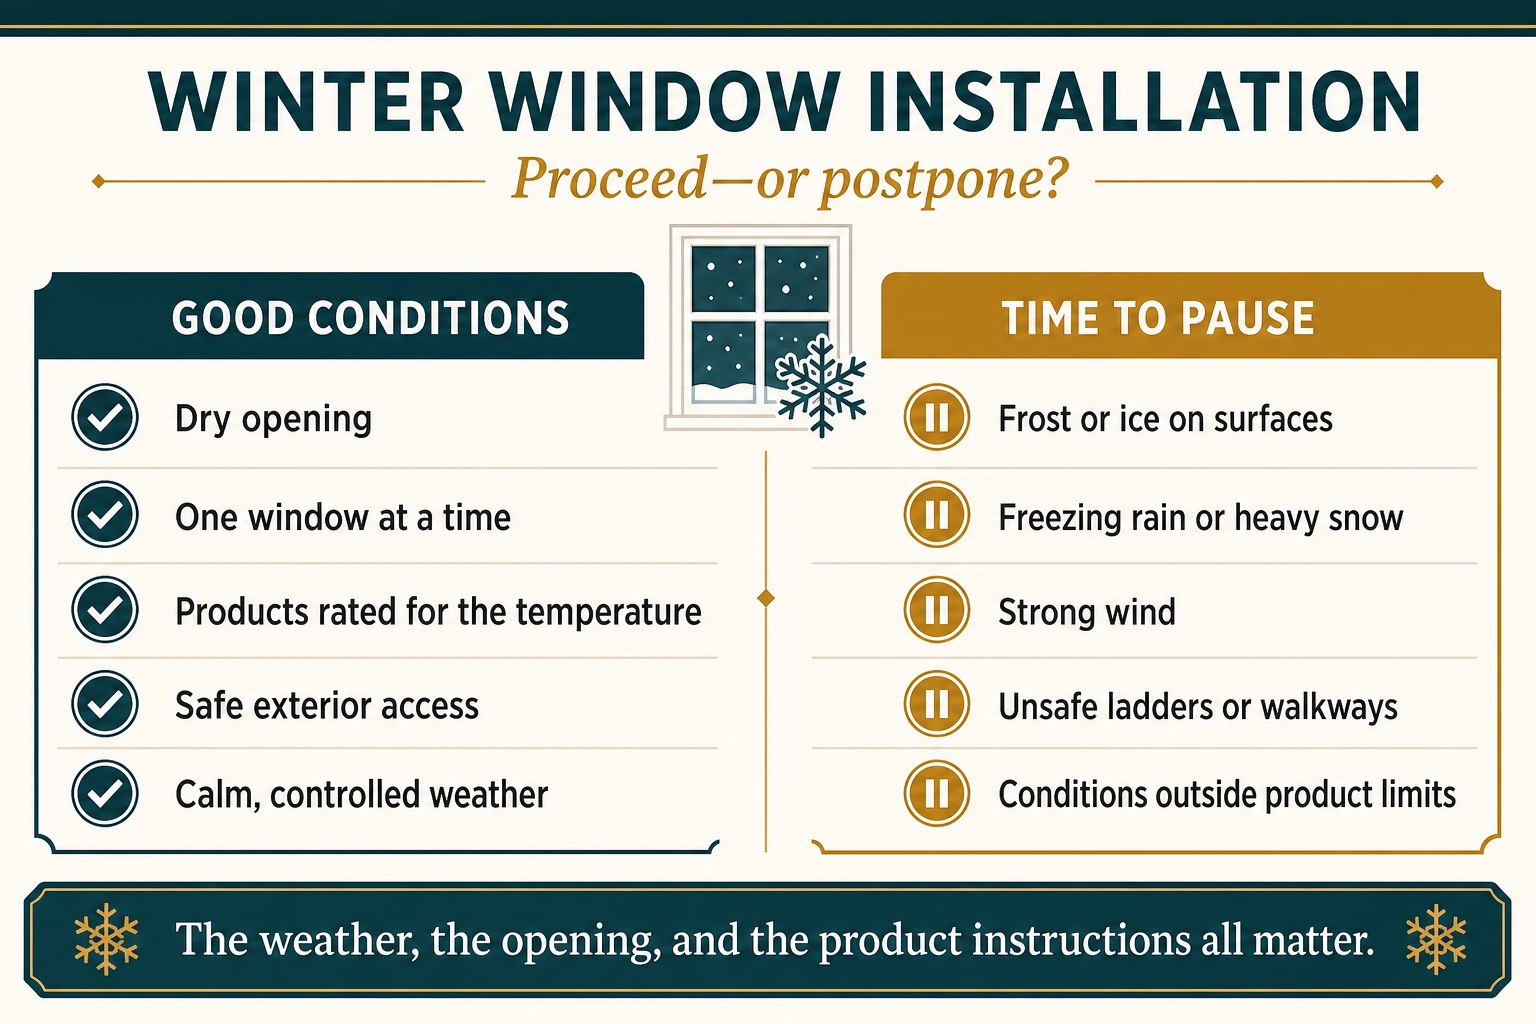
It depends on the project and the products, but there are clear reasons to pause. Heavy snow, freezing rain, strong wind, unsafe ice, wet or frosted bonding surfaces, or temperatures outside a required product range can compromise safety or workmanship.
Complex full-frame work may also need a better weather window if siding, masonry, extensive rot repair, exterior paint, or multiple large openings are involved. A short postponement is usually better than forcing a water-sensitive detail under conditions the manufacturer doesn't approve.
On the other hand, broken glass, active water entry, an unsecured opening, or a window that won't safely close may not be something you should ignore until April. A professional can explain whether immediate replacement is feasible or whether temporary stabilization is safer until suitable conditions arrive.
Will your heating system keep up?
You will feel cold air near the active opening. That's normal. With one opening at a time and reasonable room isolation, the effect is temporary; it should not resemble leaving half the house open all day.
Discuss thermostat and HVAC expectations before work begins. Don't bring an unvented combustion heater into the work area or invent your own heating setup. The installer should have a safe plan for protecting materials and workers without creating a carbon-monoxide, fire, or moisture hazard.
After installation, check comfort around the frame rather than judging the project during demolition. A persistent draft after trim is complete deserves inspection for gaps, alignment, weatherstripping, or an incomplete air seal.
New windows can change winter condensation
A tighter installation reduces uncontrolled air leakage, which is good—but it may also make indoor humidity more noticeable. Warm indoor air carries moisture. When it meets a cold glass or frame surface, condensation can form.
Condensation on the room side usually points to the relationship between indoor humidity, outdoor temperature, glass performance, and airflow. Moisture between sealed panes suggests a different issue, such as an insulated-glass seal failure. Water around trim or the wall may indicate leakage and should not be dismissed as ordinary condensation.
So what should you actually do? Use bathroom and kitchen exhaust fans, avoid blocking warm-air circulation with tightly closed coverings, and monitor indoor humidity. Don't rely on one universal percentage for every outdoor temperature and home; follow window and HVAC guidance for your conditions.
How to prepare your home the day before
- Clear furniture, plants, decorations, and breakables at least three feet from each window—or the distance your installer requests.
- Remove curtains, blinds, shades, and hardware unless the proposal says the crew will handle them.
- Create a clear route from the entry to each opening and protect valuables near that path.
- Arrange a secure room or off-site plan for pets and children.
- Tell the installer about alarm contacts, window sensors, wiring, radiators, baseboard heat, or fragile plaster.
- Confirm which windows are being replaced and mark any similar windows that are staying.
- Ask where the crew will stage windows and materials and whether the driveway, walk, or exterior work area needs snow and ice cleared.
- Plan for noise, short periods of cold air, and possible access to multiple rooms.
What a winter estimate should spell out
The price should identify the exact window, glass package, installation method, removal scope, flashing, insulation, air sealing, trim, disposal, and finish work. It should also separate known work from allowances for rot, framing, masonry, or siding repairs.
Winter itself doesn't guarantee a discount. Availability may differ by season, but the major cost drivers remain window size and style, frame material, glass options, pocket versus full-frame work, access, finish work, and repairs. Compare bids only after making sure they describe the same finished installation.
Ask whether a weather postponement changes your place in the schedule, whether exterior finishing may require a return trip, and when final payment is due. Product and labor warranties should be in writing, including who handles an installation-related service call.
| A sensible winter rule The crew should be willing to show that every adhesive, sealant, foam, flashing product, and coating is appropriate for the actual conditions and compatible with the surrounding materials. “We do this all the time” is experience—not a technical data sheet. |
|---|
Red flags worth slowing down for
- The salesperson says the company installs in absolutely any weather.
- Several old windows will be removed at once with no temporary-closure plan.
- No one checks for snow, frost, ice, or moisture on bonding surfaces.
- The installer cannot name the sealant, foam, tape, or primer being used.
- The proposal says only “caulk and foam” and never explains sill, jamb, and head water management.
- You are promised a fixed completion time before anyone considers full-frame repairs or access.
- Exterior paint or sealant will be applied outside its published conditions and “fixed later” only if it fails.
- There is no written process for hidden rot, lead-safe work, weather delays, cleanup, or warranty service.
Questions to ask before giving a contractor your contact information
- Do you recommend pocket or full-frame replacement for each opening, and why?
- How many windows will you remove at one time during winter?
- What weather conditions cause you to postpone, and who makes that decision?
- Which sealants, flashing tapes, foams, and primers will you use, and what are their application limits?
- How do you verify that surfaces are dry and free of frost or ice?
- How will you protect floors, isolate rooms, manage dust, and limit heat loss?
- What happens if you uncover wet insulation, rot, damaged sheathing, or an out-of-square opening?
- How are the sill, jambs, and head flashed, insulated, and air-sealed?
- Which interior and exterior trim, painting, siding, masonry, cleanup, and disposal are included?
- For a pre-1978 home, how will you handle lead-safe containment and cleanup if painted surfaces are disturbed?
- Will winter installation affect any product, glass, labor, or installation warranty?
Frequently asked questions
Can windows be replaced below freezing?
Sometimes. The safe answer depends on the window, installation method, site conditions, and every product used. The crew must follow manufacturer temperature and surface requirements rather than rely on a universal cutoff.
Can installers work while it is snowing?
Light conditions may be manageable if the opening and bonding surfaces stay protected and dry. Heavy snow, freezing rain, strong wind, ice, or drifting snow may justify postponement.
Will my house lose a lot of heat?
You will have temporary heat loss at the active opening. A prepared crew minimizes it by staging the new unit, replacing one window at a time, and isolating the work area where practical.
Should I turn off the furnace?
Don't guess. Ask the installer how they want the HVAC system handled. The answer can depend on dust control, room layout, outdoor conditions, and the heating system.
Does cold weather stop caulk from curing?
Some products are formulated for cold application, while others are not. Application temperature, substrate condition, storage, cure time, and compatibility all need to come from the exact product instructions.
Is full-frame replacement possible in winter?
Yes, under suitable conditions, but it exposes more of the wall and usually takes longer. Complex flashing, trim, siding, masonry, or repairs may make weather selection more important.
Will winter installation void the warranty?
It should be completed within the window and installation-product instructions. Ask for both product and labor warranty terms and written confirmation of who is responsible if a winter-installed joint fails.
Why is there condensation after new windows were installed?
New windows may reduce air leakage, making indoor humidity more visible. Interior condensation, between-pane fogging, and water at the wall have different causes, so document where the moisture appears.
Is winter window replacement cheaper?
Not automatically. Scheduling may be different, but price still depends mainly on the product, size, glass, installation method, access, trim, and repairs. Compare detailed scopes, not seasonal claims.
The practical next step
Start with an opening-by-opening assessment, not a promise that winter is either perfect or impossible. A good estimator should identify pocket versus full-frame work, explain the cold-weather materials, show how the room will be protected, and put weather delays and hidden-condition decisions in writing.
If the plan still sounds sensible after those questions, winter can be a practical time to replace failing windows. If the answers are vague, waiting for another contractor is smarter than waiting for spring.
Sources and methodology
Sources were reviewed in August 2026. Installation requirements vary by window, wall assembly, exposure, manufacturer, and the exact sealants, tapes, foams, and coatings selected. Always use the current product instructions and local project conditions; this article is planning guidance, not a substitute for an opening-specific installation plan.
Pella: Window Installation—What to Expect and How to Prepare
Pella: Replacement Windows for Your Home
Pella: Find a Contractor—Weather and Installation Questions
FGIA: Best Practices for Window and Door Replacement
Building Science Corporation: Pan Flashing for Exterior Wall Openings
ENERGY STAR: Residential Windows, Doors, and Skylights
ENERGY STAR: Sealing Behind Window and Door Trim